
 |
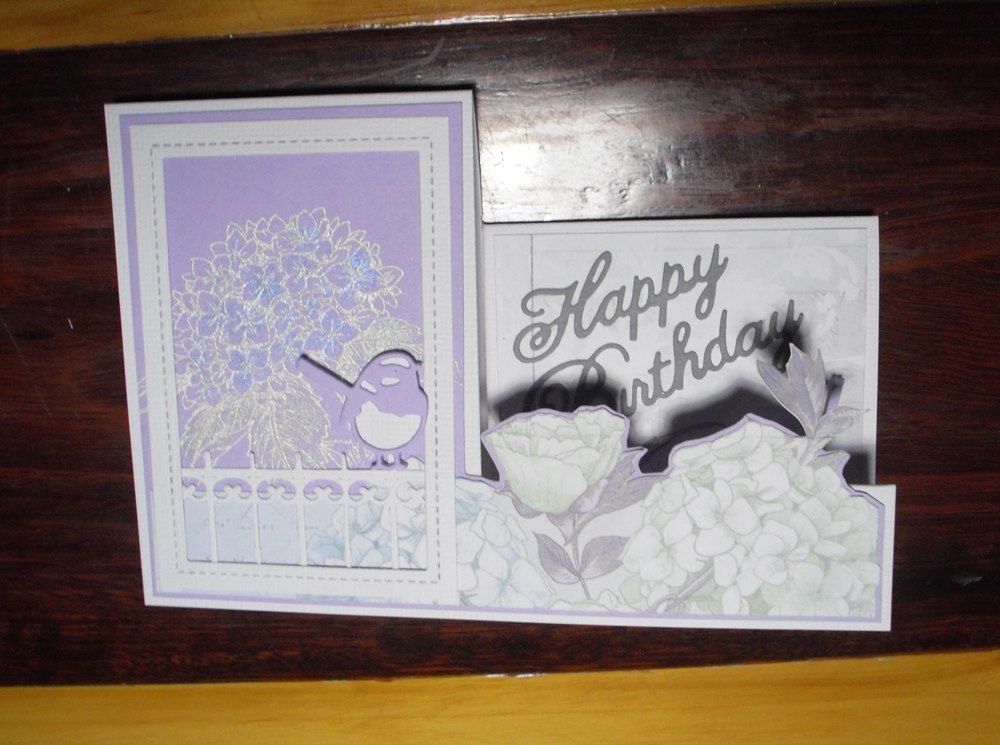
| Same card - closed. The hydrangea is from a StampIt set, coloured with Perfect Pearls. |
I have not made step cards for ages, but was recently inspired by Collette Mitrega's YouTube tutorial for a quick 1 Minute Step Card.
I love the speed of this process - but had a few OCD cringe moments - even though the front layer mostly covers Collette's residual fold line across the left-hand panel, I know it is there. The bigger-than-needed cut in the back panel also annoyed me. All this started me thinking about how I could streamline the 'measure-and-mark' process I had been taught for step cards.
My latest paper purchase gave me the push I needed. I bought 2 sheets of Kaisercraft Lilac Whisper collection 'Mauve' and a matching Collectables pack plus 2 A4 sheets of matching lilac card. From each sheet of Kaisercraft paper I will get at least 5 cards, possibly 6. I reckon that is pretty good value.


I wanted to use specific parts of the paper for a number of step cards. I also wanted to use my new Lawn Fawn Outside-In Stitched Rectangles die. This meant designing the steps around the paper panels.
The tools I used were a Martha Stewart Scoreboard, a cutting mat, a craft knife and my Tim Holtz ruler. (You can use a metal ruler).
 |
| Lots of my beloved 'fussy cutting' - yes I did cut around the three central hydrangea blossoms. |
 |
| I moved the butterfly to the lower front of the card and added a finch as a hidden surprise. |
 |
| Another card, using some Collectables, Stickles applied with a toothlick, and a StampIt hydrangea stamp and Perfect Pearls. |
I found that if I started with a standard A5 card base and put in partial score lines as a guide I could then cut to fit the panels and extend the score lines. In the diagram below, score lines are shown in black and the cutting line in orange. Can you tell yet that my Dad is a maths teacher and I am very much my father's duaghter??

Next are the lines that will start the step - one score line at either 1" or 1 1/8" from the left edge and coming up to about 1/4" short of where you think the cutting line will go, and a second line the same distance further across - at either 2" or 2 1/4" from the left edge of the card base.
Now use a tiny pencil mark to show the start and finish of the cutting line - the measurement down from the top edge of the card base will be the width of your intended left-hand panel layer plus whatever border you want around it. (For example my panel is 2 5/8" wide so I lay my ruler on the 1" score line and mark the start of the cutting line 2 7/8" down from the top edge. Then I lay the ruler on the last score line and again mark a point 2 7/8" down from the top edge for the end of the cutting line.