I have been asked for a 'How to' for the measuring tape card I made recently for a very special gentleman. Every month he not only allows a group of chatty cardmaking women into his home but also helps his wife set up tables and chairs for us.
I used the programs Word and PhotoScape for the printed aspects of the card.

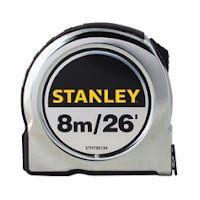
Step 1 was to find a suitable image. I knew I wanted a tape measure, and was happy to finally find this image:
I wanted my finished tape measure to have the tape pulling out from the left so that the message could be read as it pulled out, so I used PhotoScape to edit the image. (PhotoScape is a free photo editing software program which I love - really easy to use, especially if you have a teenager to show you where things have been moved to when you update to the Windows 10 version). This is the link for it if you are interested:
 http://www.photoscape.org/
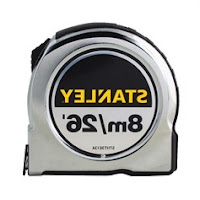
Here is my flipped image:
Yes you are correct - the wording is reversed.
So I decided to print two of the images with the wording going the right way then to cut out the circular label and adhere it to this panel. Problem solved.

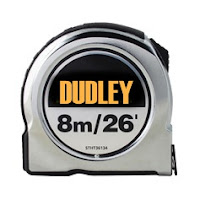
Then came the "Aha" moment - instead of 'STANLEY' I could use the INSERT Text feature of PhotoScape to personalise the measure.
I used the Paint tool to 'paint' black ink over the bit that says STANLEY then added Dudley's name.

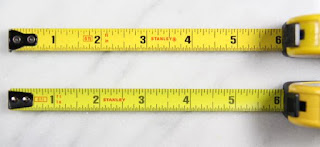
I also wanted to print a tape measure so found this image:
I used PhotoScape to remove the numbers, using the crop tool to get one measure, thus:
Then I used the dropper (found in Tools, Paint, Color) to smudge out the numbers to give me this:
Next I put all of the images I planned to use onto a Word document.
I formatted each image with Wrap Text to be 'In front of text' and formatted Size to 7 cm (feel free to make yours larger).
I stretched the blank measure to the size I wanted, and saved it as a picture.
I then inserted a Text Box with the wording I wanted - Wishing you happiness beyond measure - you deserve it!
Word has a nifty option for the text box. In the Format Shape, Fill part you can choose Picture or texture fill - choose 'insert picture from file' and insert the blank measure you have saved. Then play with the transparency option there until happy with the colour of the measure behind the text.
Easy peasy!!


No comments:
Post a Comment